javascript sdk
Element Masking
Element masking
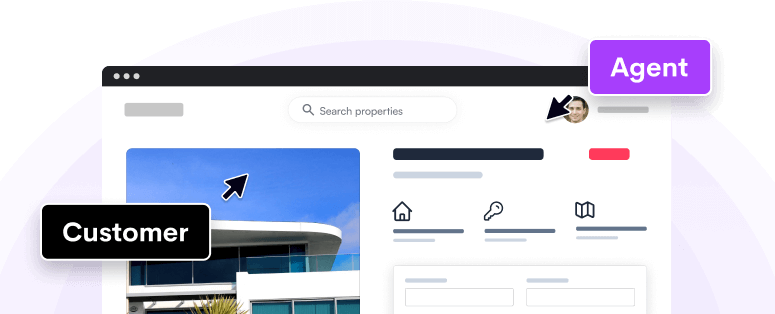
Upscope allows you to mask certain elements from the Agent. When you do this, not only will the content of the masked elements be hidden from the Agent, but it will also [[not go through our servers.]][[If you use the Universal Proxy, all data will go through Upscope servers regardless of masking. Your agents will not see it, however.]]
Methodologies
The easiest way to mask an element is to add its CSS selector to the dashboard settings.
For example, if you want to hide an element with id secret-code, you'd add #secret-code to the settings.
Masking in your HTML
You can also mask elements by adding the no-upscope CSS class to them.
Default masking
Upscope will automatically mask password fields and fields that contain what looks like credit card numbers.
Masking inputs or elements
You can mask either form inputs or whole HTML elements. When you mask an input, the Agent will see the value of it transformed into asterisks. That way, they can see if the Visitor is typing, but not what they are typing.
When you mask any other element, nothing contained in it will show up on the Agent side. The element will be turned into a gray box.
Inline elements
You can only mask elements that have the display CSS property set to block. This is because inline elements don't have a fixed size and could span multiple lines.
Agent control
The Agent will be unable to control anything that is masked. That means that they can't type for a Visitor on a masked field, or click on a masked button.
You can further restrict which fields are not masked but the Agent should not be able to control in your settings.