getting started
Installation
Overview
Upscope can be installed using one of the following methods:
Installing via Script Tag - Directly add the code snippet to your web page.
Installing via NPM - Ideal for projects using a Node.js environment.
Installing via React - For React-based applications.
Choose the method that best fits your project's requirements.
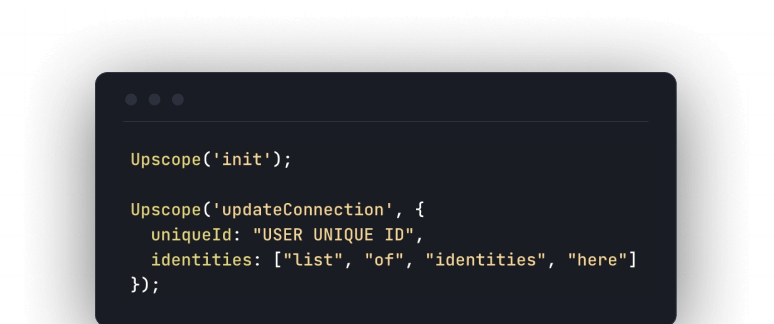
You'll find your Upscope installation code within your Upscope dashboard. Simply add the code anywhere on your webpage, or, if you prefer, add it to a JavaScript file by removing the <script> and </script> tags from the code.
Recommendation: Make sure that the code loads as fast as possible by adding it as one of the first things that execute on the page.
Warning
While you can install Upscope through Google Tag Manager or Segment, the preferred method is to paste the installation code directly on your website, as this will result in faster load times.
Installation remains the same whatever front end framework you use. Upscope works fine with React, Angular, and most other modern Javascript frameworks. All you need to do is add the code to the page.
Install the Upscope SDK:
npm install --save @upscopeio/sdkImport the Upscope Object:
import Upscope from '@upscopeio/sdk';Initialize Upscope:
Upscope("init", {
  apiKey: "<public_api_key>"
});
Note: You can use the Upscope object wherever required, and call the same functions that are available with the regular installation. Initialization (init) needs to be called first and must include your public API key.
Public API Key
You can find yours in the installation page
Installation
To incorporate Upscope into your React project, first install the React-specific package using npm:
npm install --save @upscopeio/reactImport the UpscopeProvider component and wrap your main application component with it.
import { UpscopeProvider } from '@upscopeio/react';
<UpscopeProvider apiKey="<public_api_key>" enabled={true/false}>
  {/* rest of your app */}
</UpscopeProvider>
Upscope will share the entire page, regardless of where the UpscopeProvider is added in your component hierarchy.
Configuration
Public API Key
You can find yours in the installation page
The UpscopeProvider accepts props that you can use for additional configuration settings. These settings are similar to the ones you would specify using the init function in the standard SDK. For example, to specify a unique identifier for a user, you can do:
<UpscopeProvider apiKey="<public_api_key>" enabled={true} uniqueId={user.email}>
  {/* Your application code here */}
</UpscopeProvider>
Using Upscope Functionality in Components
To use Upscope features in your individual components, you can use the useUpscope hook:
import { useUpscope } from '@upscopeio/react';
function YourComponent() {
  const {
    Upscope,       // Upscope SDK object
    shortId,       // Connected shortId or undefined
    getLookupCode, // Asynchronous function to get lookup code
    listen,        // Event listener function
    reset,         // Reset function
    isSharing      // Boolean indicating active session
  } = useUpscope();
  // Your component logic here
}
Additional Utilities: Masking and Disabling Remote Control
Upscope offers utility components to mask sensitive data and disable remote control on specific UI elements.
To mask sensitive information:
import { Masked, NoRemoteControl } from '@upscopeio/react';
function YourComponent() {
  return (
    <>
      <Masked>
        {/* Sensitive Info */}
      </Masked>
      <NoRemoteControl>
        {/* Control Elements */}
      </NoRemoteControl>
    </>
  );
}
To disable remote control on a particular element:
import { NoRemoteControl } from '@upscopeio/react';
function YourComponent() {
  return (
    <>
      <NoRemoteControl>
        <label>
          Accept Terms of Service
          <input type="checkbox" />
        </label>
      </NoRemoteControl>
    </>
  );
}
By following these steps and guidelines, you can fully integrate Upscope into your React application and leverage its features effectively.
Testing on a local or staging environment
When you test Helloscreen on your own computer or in a staging environment that is not publicly accessible, you might notice some odd rendering issues.
This is because our proxy server is unable to reach your CSS and media files and therefore can't properly edit them to render on the Agent side.
We try to automatically detect if you are on a URL that looks like localhost (e.g. http://127.0.0.1/*, http://localhost/*, etc), and send the content of CSS files directly from the Visitor's browser to the Agent's browser.
You can add more URLs for browser proxying (such as your staging environment) here.
Iframe support
HelloScreen will work with iframes without you needing to do anything when these are hosted on the same domain. This means that the part of the url between :// and the first / is exactly the same (i.e. app.acme.com and dashboard.acme.com are considered different domains).
In this case, you only need to add the HelloScreen script to the outermost frame (i.e. the parent page).
You don't need to do anything to make HelloScreen work cross-domain if iframes aren't involved.
Different domains
To make HelloScreen work when you have iframes on different domains / subdomains, you'll need to add the javascript code snippet to all the iframes. This is the code you get from https://app.upscope.io/install.
The iframes will connect automatically.
Using the SDK
The code will behave differently in the iframe, and you can't use SDK within it.
That means that if you want to identify the user you'll need to do so in the outermost frame.
Embed Upscope Into Any Website
The simple way to embed HelloScreen into your website is by creating a new iframe and pointing it to the Upscope embed url
Create a new iframe within your system
Point the iframe to https://helloscreen.com/embed/
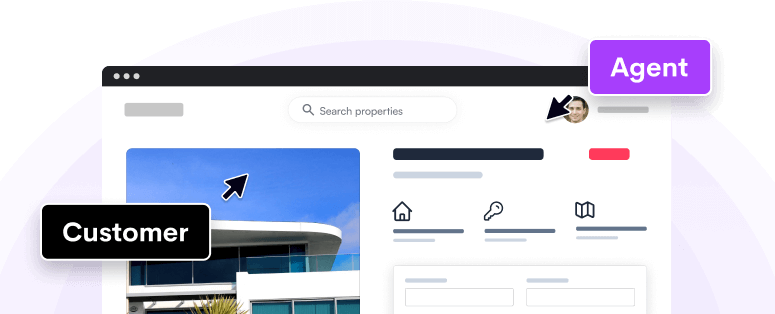
This will show the HelloScreen dashboard within the iframe so you can search for and find an individual user you would like to help.
When you click to begin co-browsing with that particular user it will take place within the iframe rather than opening up a new tab.
<iframe src="https://helloscreen.com/embed" title="helloscreen-dashboard"></iframe>Client-side Form Validation
JavaScript validation will work on the user side but will not work on the agent side. To ensure validations work on both agent AND user side we recommend using HTML validation. Learn more about HTML validation here.
When you have a lot of Visitors
If your website has a lot of Visitors (i.e. over 5,000 connected at once), you might want to only connect Visitors who actually need help.
You can easily do this by passing autoconnect: false to the configuration, like this (or by turning this off in the dashboard):
// Rest of the installation code...
Upscope('init', {
 autoconnect: false
})
The visitor will be connected automatically if they have recently been in a Session, and will also automatically connect if they are shown the lookup code through any means.
You can also manually connect the Visitor by calling Upscope('connect');
How will I know if the code is installed correctly?
It’s easy to test if the code is installed correctly simply go to helloscreen.com and see a list of current users on pages where you placed the javascript code. (Open up a separate incognito window to test.)
Once the screen sharing session begins you can scroll, click, highlight, and spotlight using the tools on the bottom right of the HelloScreen viewing window.
You can also begin a browser to browser audio call by clicking the green phone button on the bottom right. You can start audio calls with users but only after a screen sharing session has begun.